Documentation
All assignments will be documented with JPG images on this website. You can find instructions on how to add the images below. In addition to this documentation we like to collect all the final site folders (with all coded files) in Dropbox.
You can get started with the documentation right away. You'll have time to finalize it by the end of the semester. You'll be using the CMS to create and edit your entry. This means you don't have to get everything done in one session. You can login at any time to edit your entry and finalize it over time.
Due: Nov 29., beginning of class
Create and Entry to the CMS
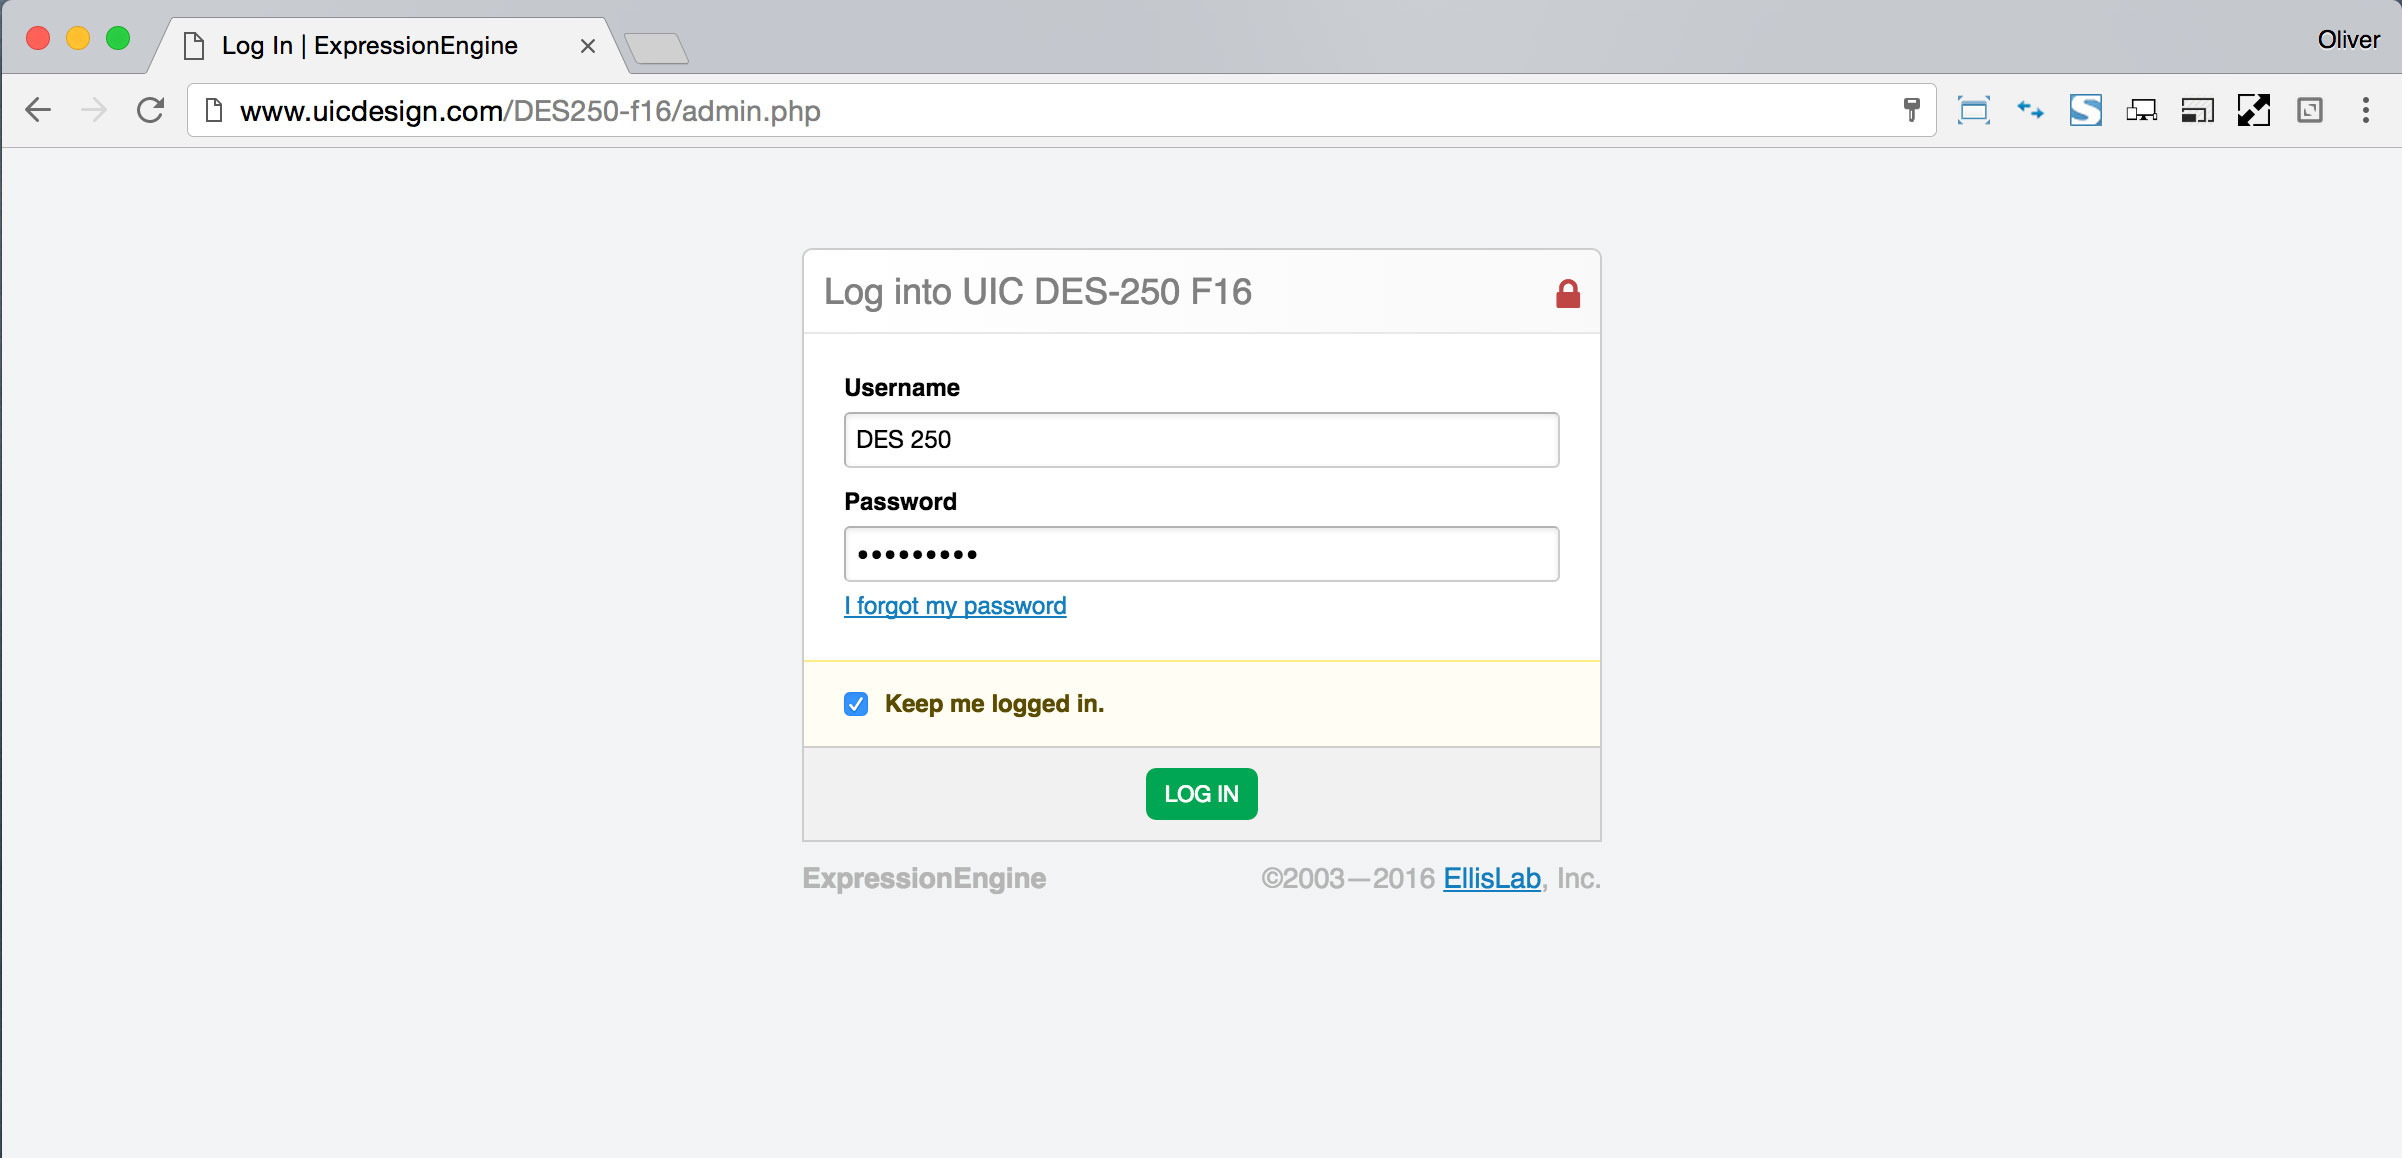
Login:
Go to http://www.uicdesign.com/DES250-f16/admin.php and login with Username: "DES 250" and Password: "Fall2016!".
Create and Entry:
Use the pull-down menu at the top left corner of the page and choose "Students A" in your in Oliver's class and "Students B" if you're in Linda's class.

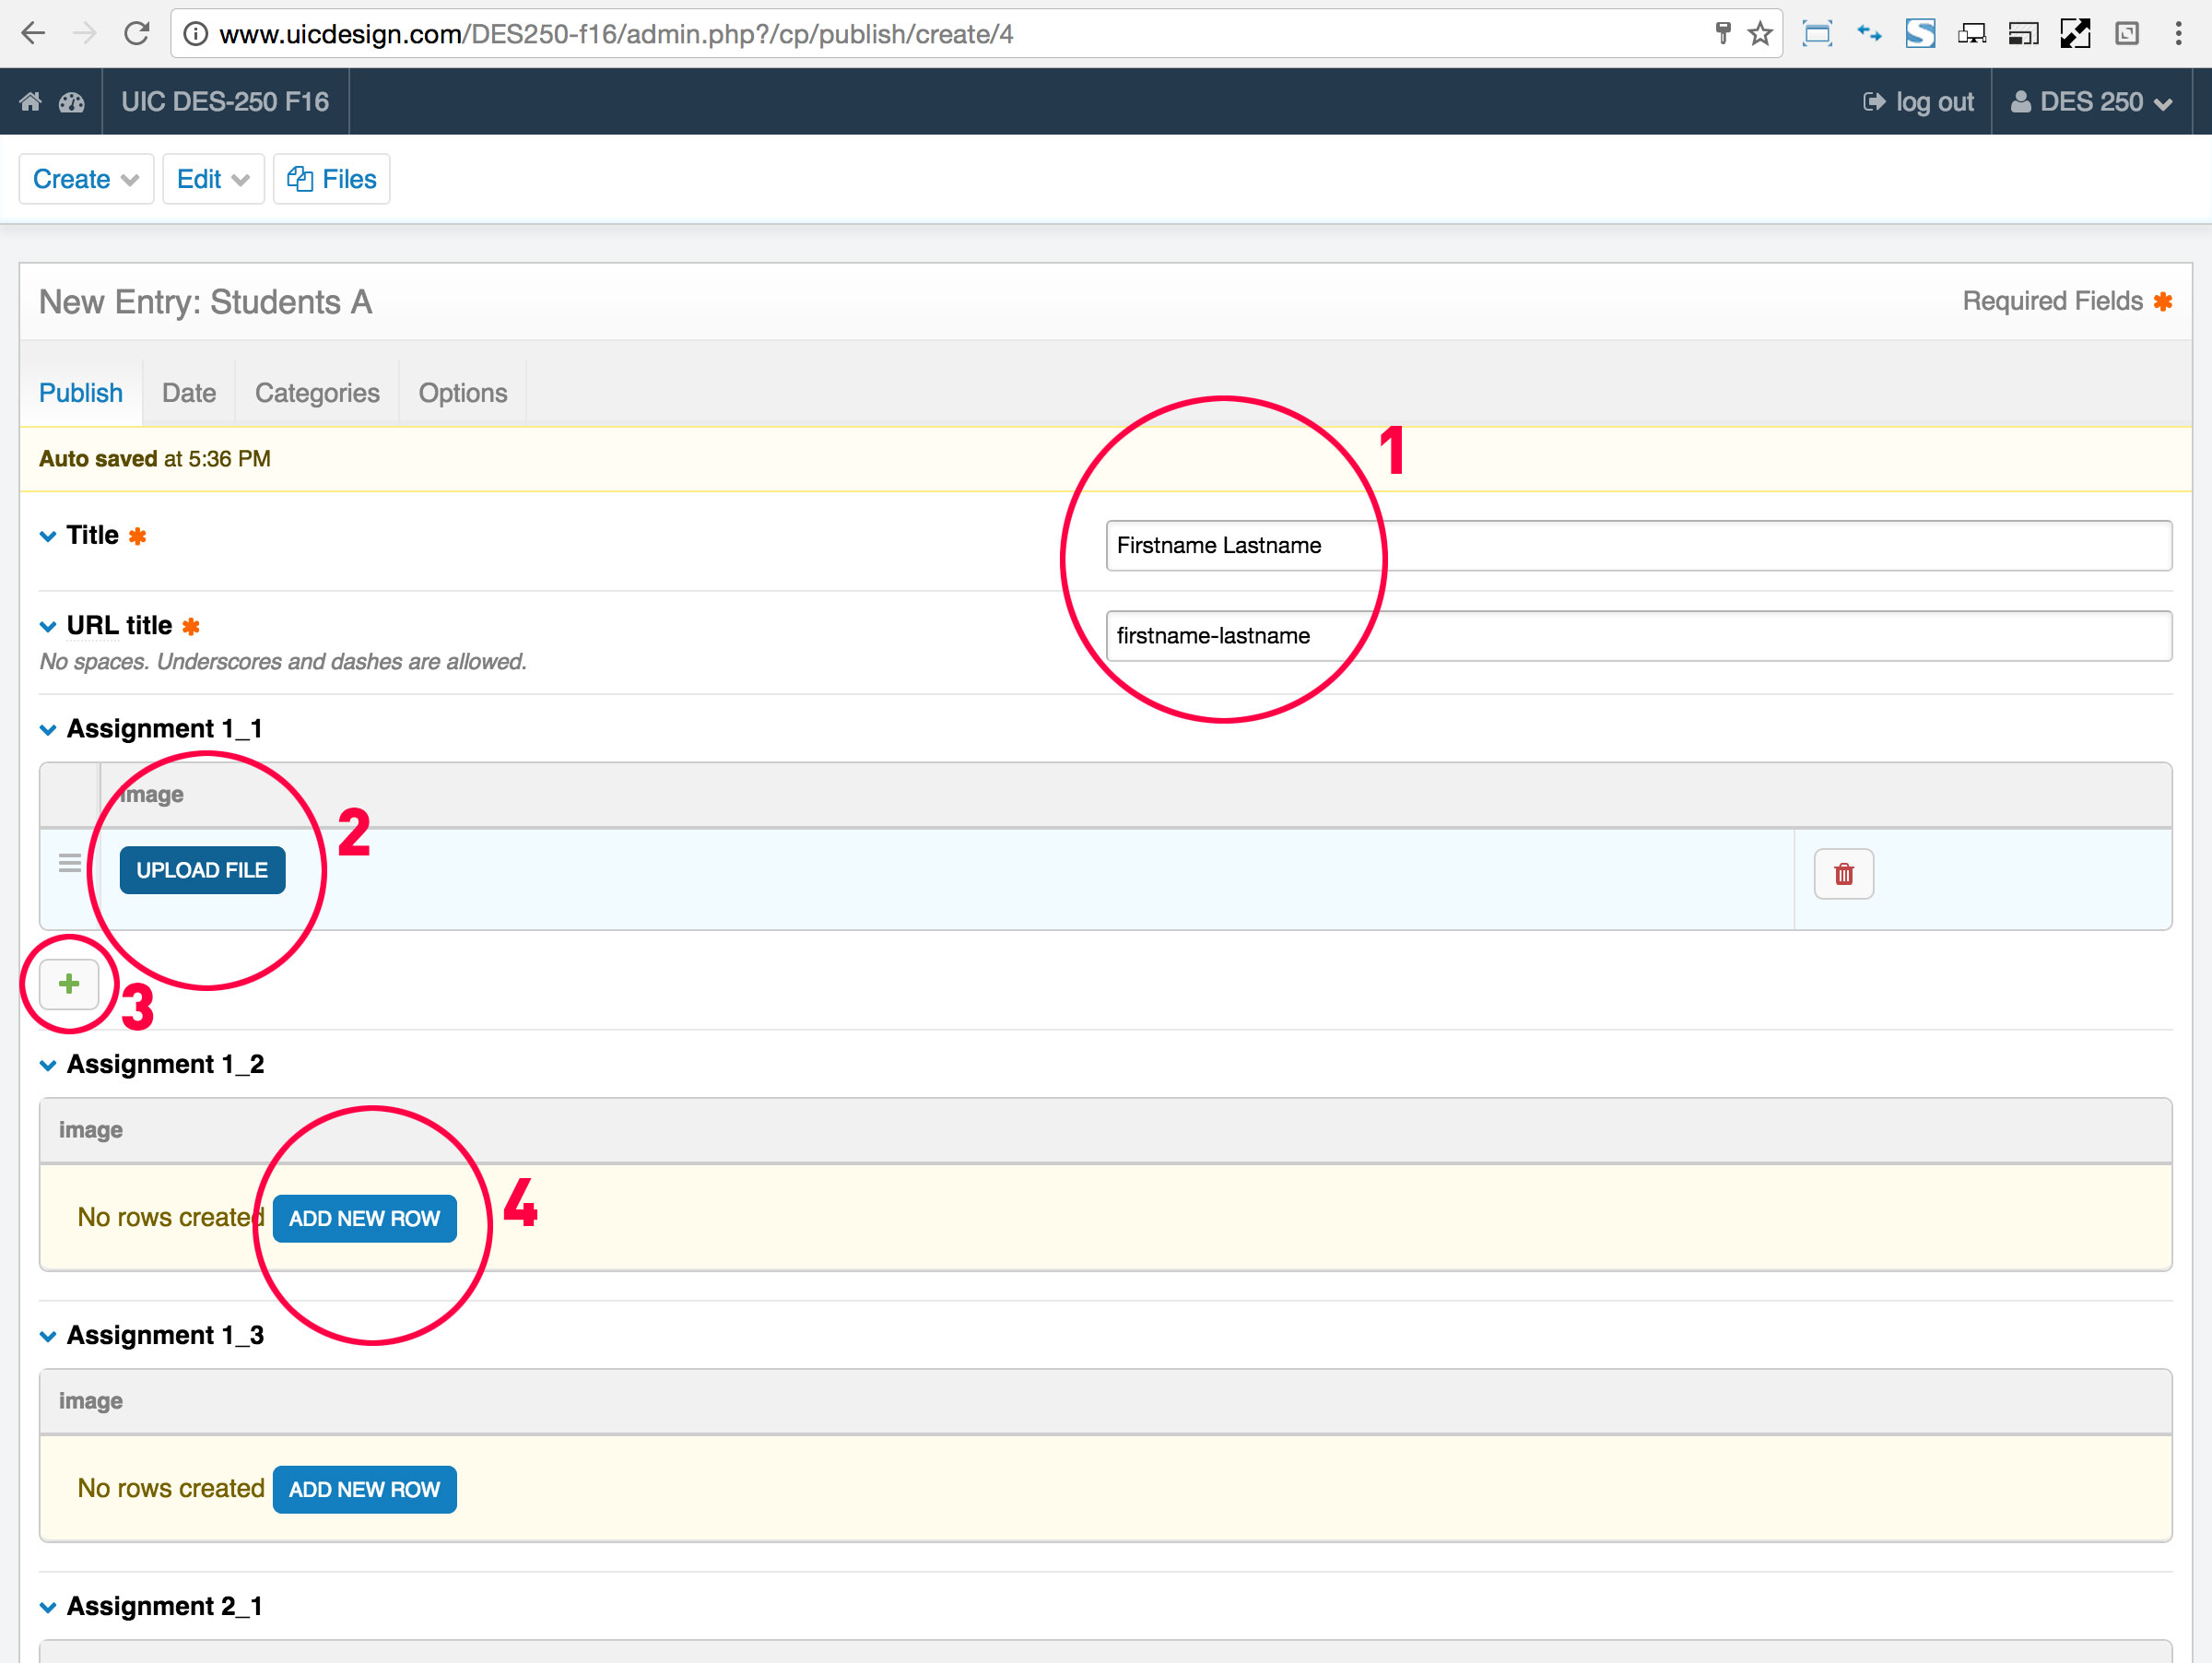
Create and Entry:
1. Write you first and last name into the "Title" field.
2. Under "Assignment 1_1" click first "ADD NEW ROW" and then "UPLOAD FILE" to upload your first image.
3. In order to add the second image, click the green "+" icon and then "UPLOAD FILE" again. Repeat steps 2-3 for the rest of the images that belong to assignment 1_1.
4. Do the same thing for all other assignments. Each assignment has it's own section on this entry page.
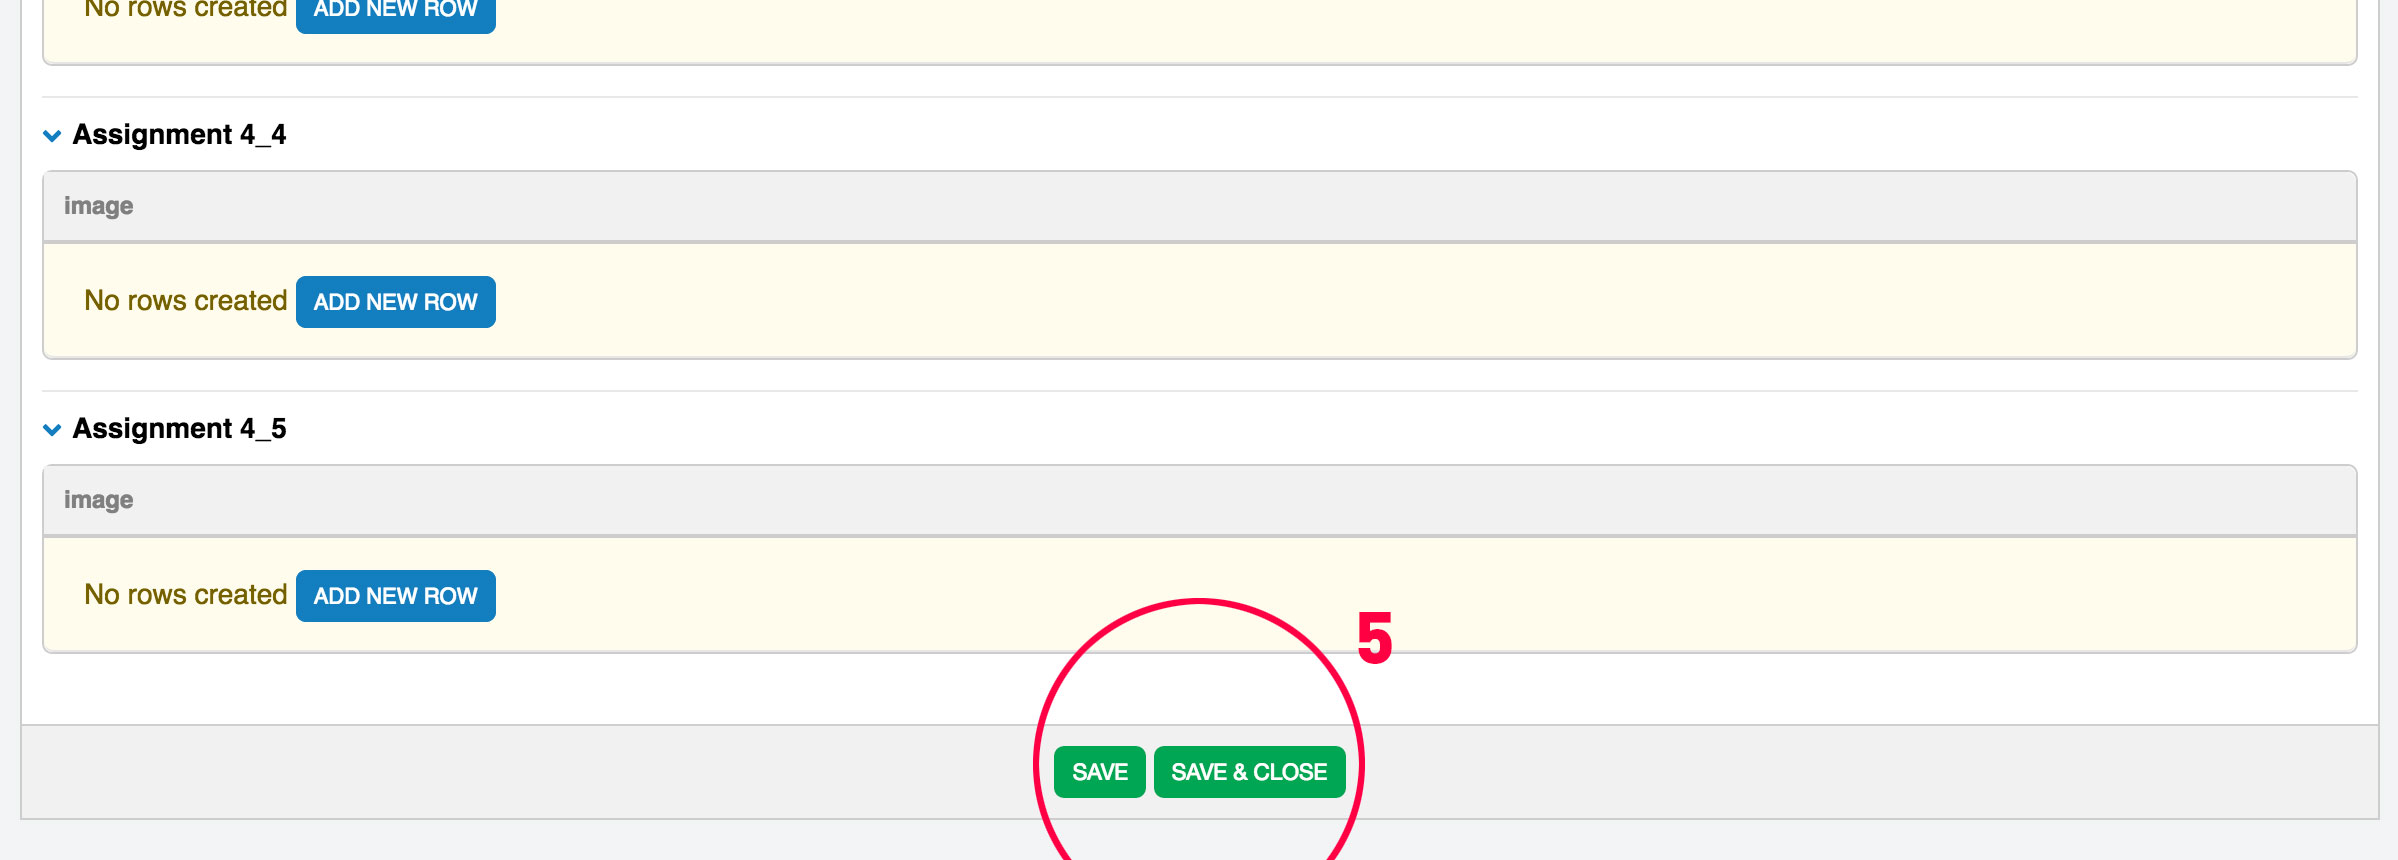
5. Make sure you hit the "Save" button at the bottom of the entry page once you're done with uploading. I recommend to save often.
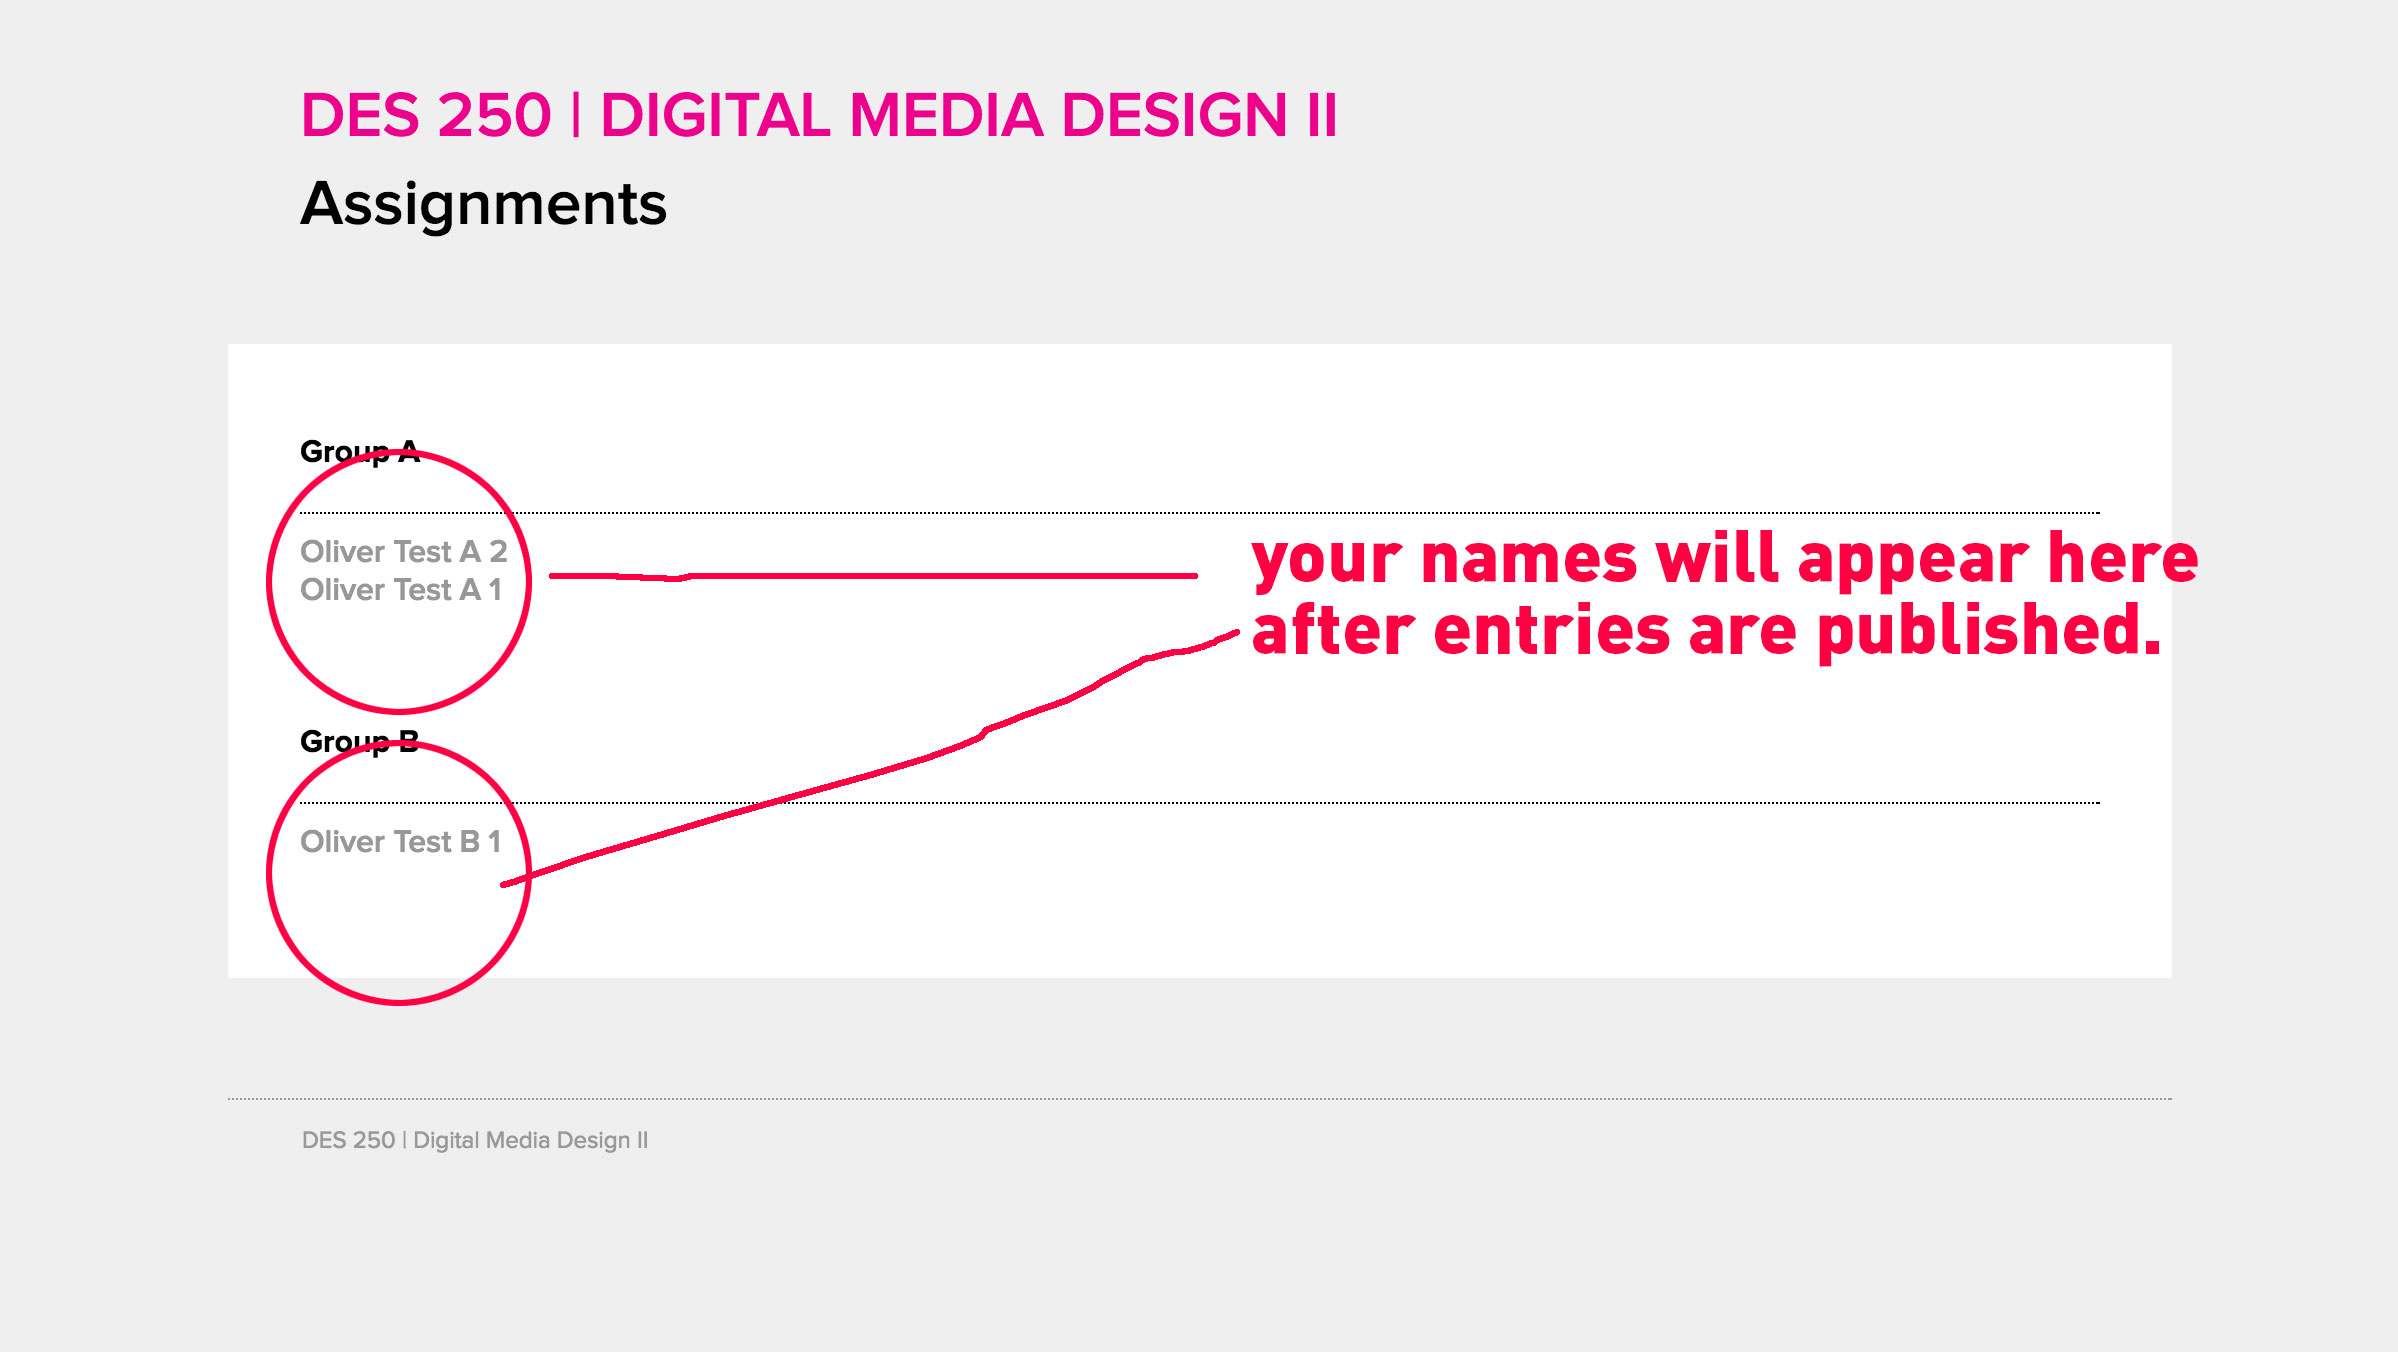
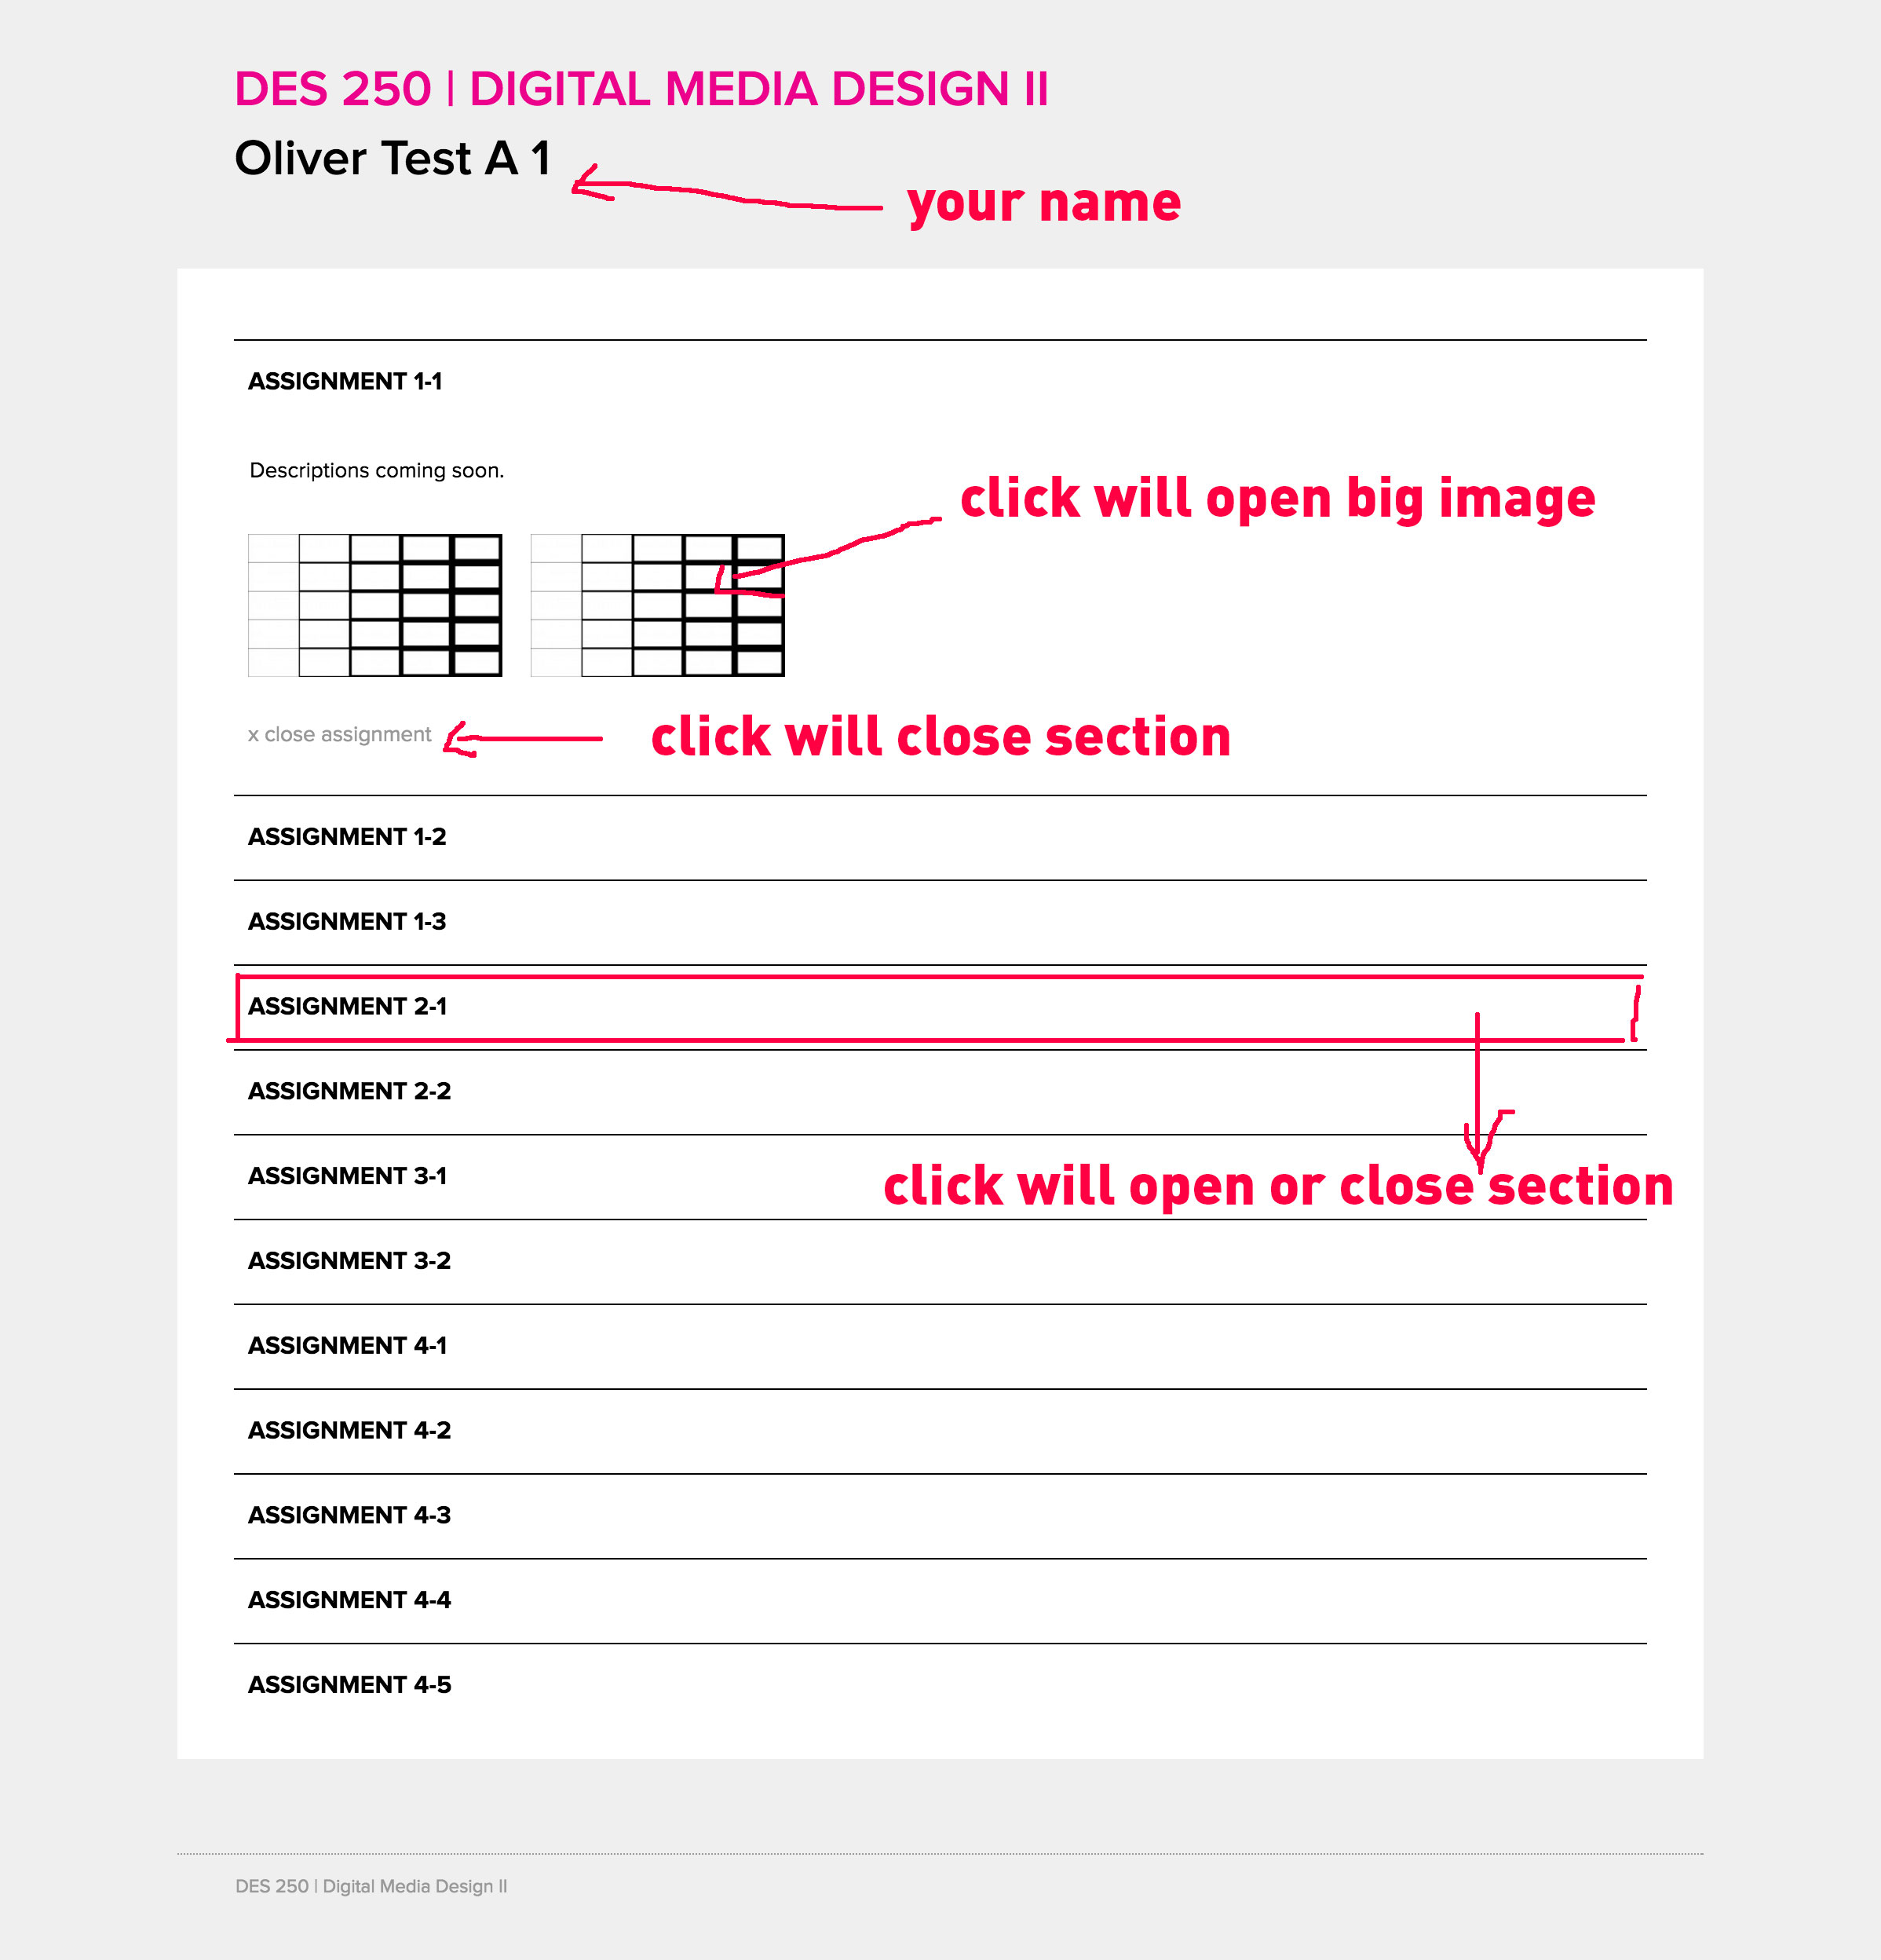
Live Pages:
Your page will appear after you published your entry. A click on your name on the overview page will lead to the documentation page with all the images. Overview: http://www.uicdesign.com/DES250-f16/students/ .